216 Flooring SystemsCall 216-609-5810

The process

From the day you sign to the years you'll spend on this floor, here is exactly what happens and when.

Sign

One price, in writing

  • Your exact price comes from the on-site inspection. Travel, disposal, materials and sundries are already included.
  • The contract spells out the scope, the system, the warranty and the cure times before you sign.
  • Sign electronically. The deposit reserves your start date, and your inspection deposit is credited toward it.
  • You have three business days to cancel with no penalty. Work never starts before that window closes.
Read the narration

Your contract comes from the inspection, not a guess. We measured your slab, looked at every crack and read the moisture. The price you see is the price you pay, with travel, disposal and materials already inside it. You read the full terms, the warranty and the cure times, then sign on your phone. Your deposit reserves your start date on the crew calendar.
Prepare

Your date, and how to get ready

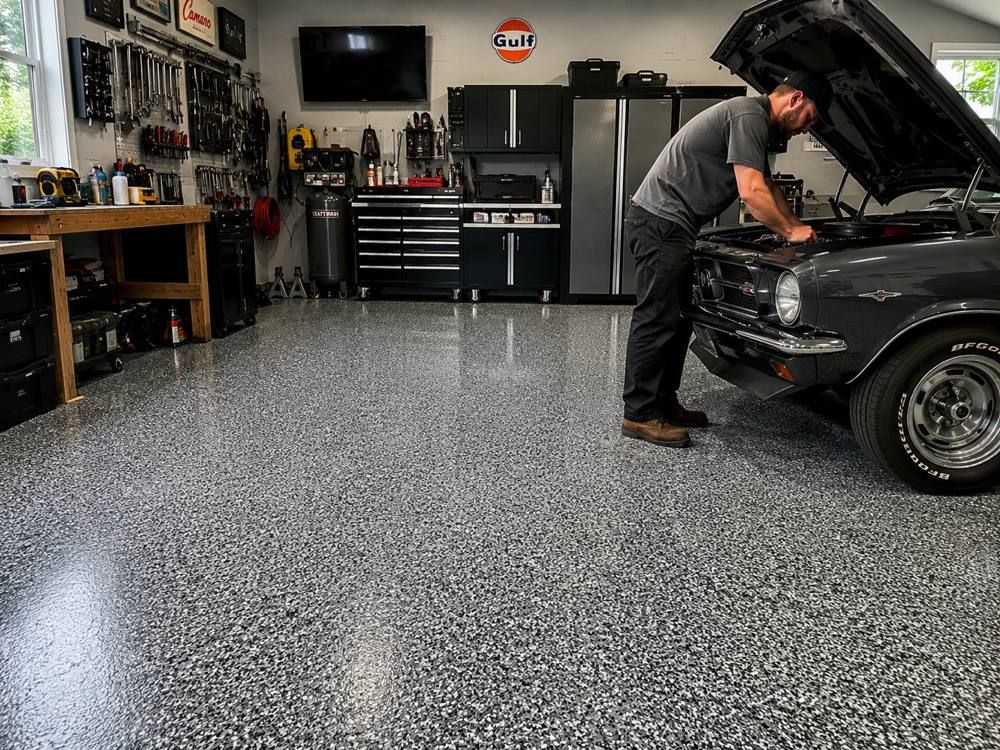
Flake epoxy floor in a home garage with a classic car
  • Your install date is on the crew schedule as soon as you sign, and materials are ordered for your job.
  • Before install day you get a checklist: clear the floor, move vehicles out, and give us access to power and water.
  • Resin needs the right temperature and humidity. If conditions would hurt your floor, we call you and offer the next open date.
Read the narration

The moment you sign, your job lands on our installers' schedule and your materials are ordered. Before install day we send a short checklist: clear the space, move the cars, and make sure we can reach power and water. If weather or slab temperature would put your floor at risk, we tell you right away and offer the next open date.

Grind and repair

Where floors are won or lost

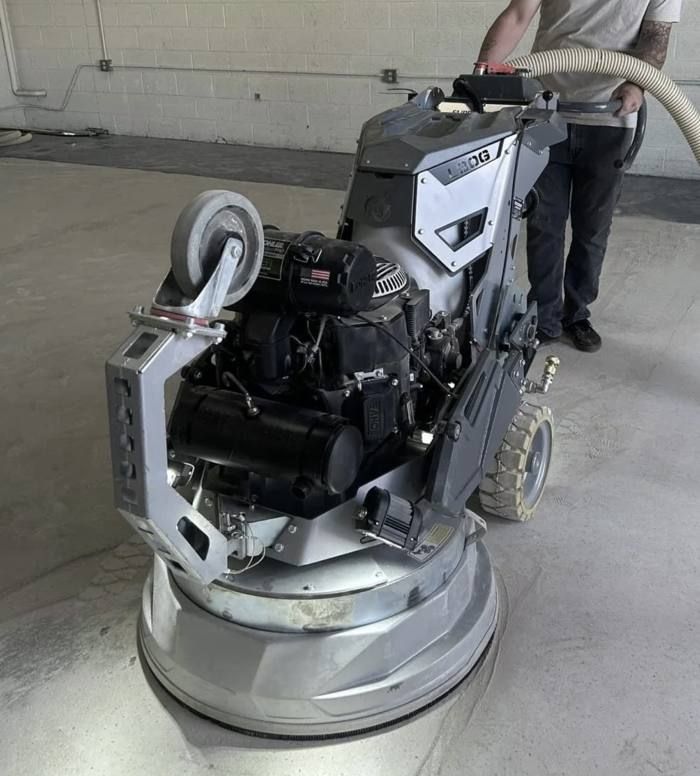
Diamond grinder prepping a concrete floor
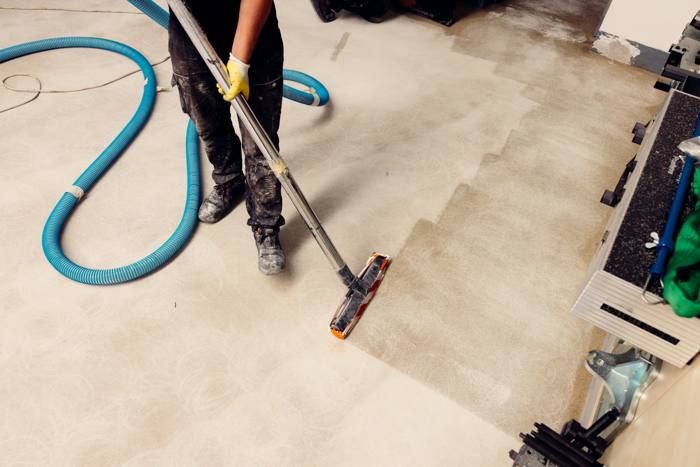
Vacuuming a ground concrete floor
  • We walk the space with you, then protect walls, doors and anything that stays in the room.
  • Diamond grinding opens the concrete so the coating bonds into it. Dust is captured by vacuum as we work.
  • Cracks, spalls and pitting are filled and ground flush. Damp slabs get a moisture-blocking primer.
  • If grinding reveals moisture, old sealer or hidden damage, you get a written change order first. You never pay for work you didn't approve.
Read the narration

Day one starts with a walk-through of your space. We protect the walls and doors, then diamond-grind the whole slab so the coating bonds into the concrete instead of sitting on top of it. Vacuums capture the dust as we go. Cracks and pitting are filled and ground flush. If grinding uncovers something nobody could see at the inspection, we stop, show you, and put any extra work in writing for your approval first.

Build

Four layers, no shortcuts

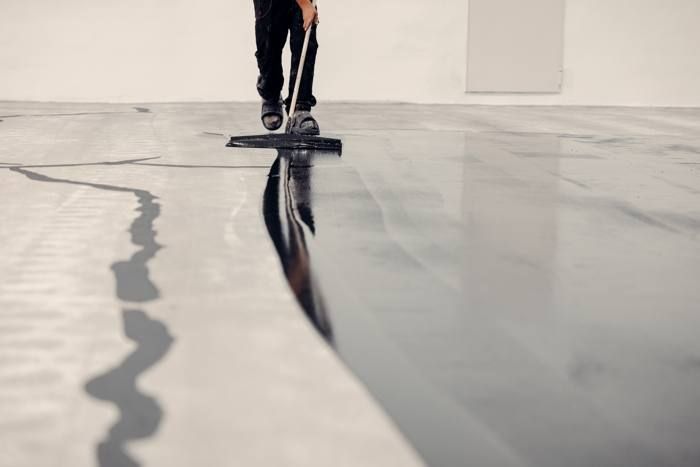
Spreading basecoat across the floor
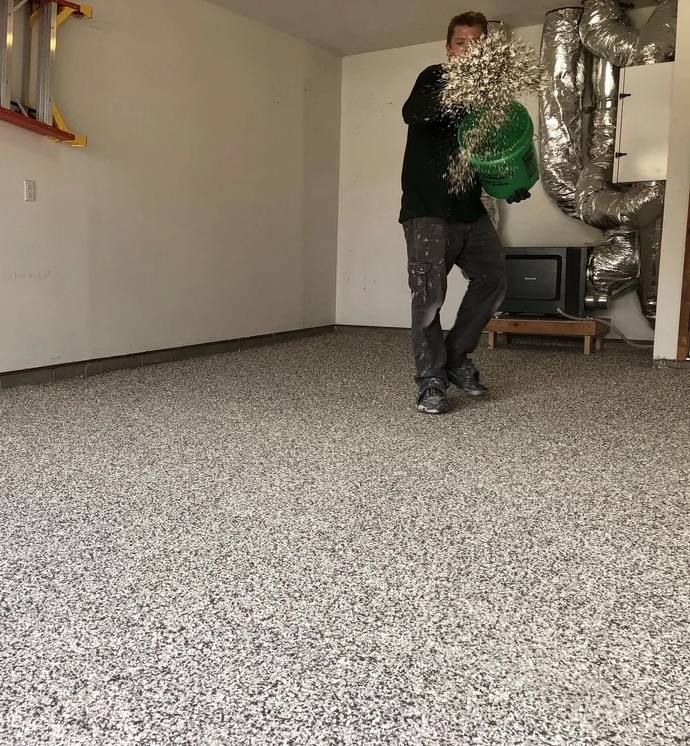
Installer broadcasting decorative flake
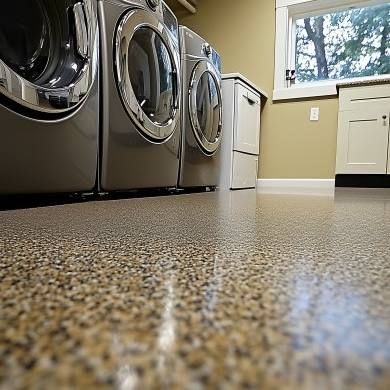
Glossy finished topcoat in a laundry room
  • A basecoat is spread across the prepared concrete.
  • Decorative flake is broadcast into the wet basecoat until no bare resin shows.
  • A protective topcoat seals it in, UV and chemical resistant.
  • American-made coating systems from manufacturers like Simiron. No imported bargain materials.
Read the narration

Now your floor goes down in layers. A basecoat is spread across the prepared slab. Decorative flake is broadcast into it while it's wet, so no bare resin shows through. Then a protective topcoat seals it in. We use American-made coatings from manufacturers like Simiron, never cheaper imports.

How we install each type of floor

Cure

Hands off, briefly

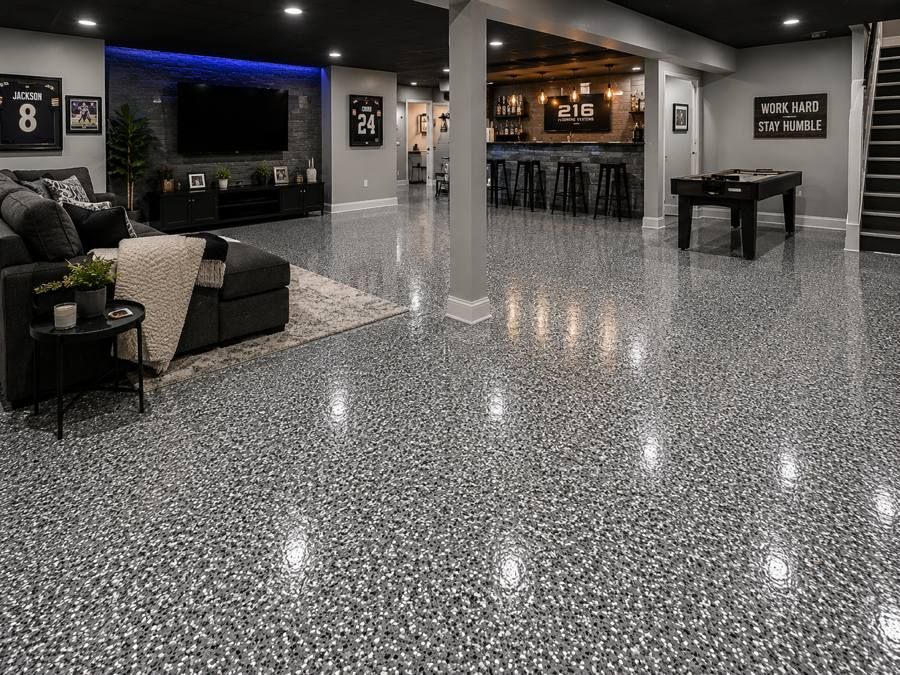
Glossy flake floor in a basement bar and game room
  • Walk on your floor after 24 hours.
  • Park on it and move heavy items back in after 72 hours.
  • Keep pets, vehicles and heavy furniture off until those times pass. We leave the times with you in writing.
Read the narration

Then the floor needs time. You can walk on it after twenty-four hours. After seventy-two hours you can park on it and move heavy things back in. We leave those times with you in writing.

Walk-through and sign-off

You approve it before you pay for it

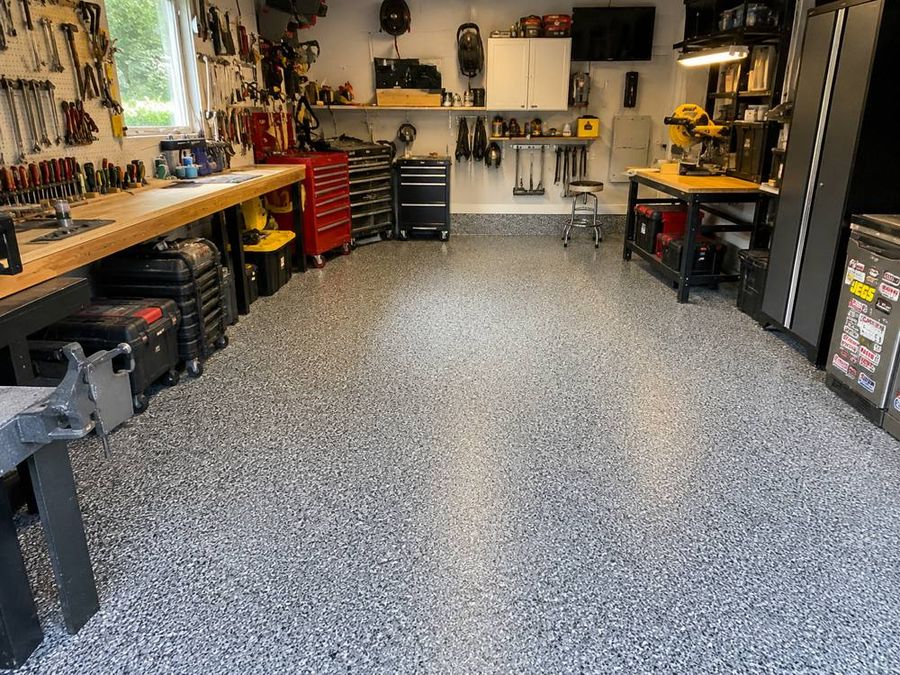
Finished flake floor in a workshop
  • We walk the finished floor with you. Anything that isn't right is fixed before sign-off.
  • Installers photograph the finished floor. The photos go into your completion report.
  • You review and sign the completion report, and the balance is due at that point, not before.
  • Photos of your home are never used in advertising without your separate permission.
Read the narration

When the floor is ready, we walk it with you. Anything that isn't right gets fixed before you sign off. Our installers photograph the finished floor, and those photos go into your completion report. You review the report, sign it, and pay the balance. That's the moment the job is done.

Warranty

One year, in writing

  • Epoxy and polyaspartic systems carry a one-year limited warranty from your sign-off date.
  • Covered: peeling, lifting and delamination; hot-tire pickup after full cure; blistering; flake, quartz or stone coming loose; areas that never cure; yellowing of a UV-stable topcoat.
  • Not covered: moisture or water pressure from below the slab; cracks from the concrete moving; impacts and scratches; permanent tire marks and stains left sitting; ambering of epoxy with no UV-stable topcoat; normal wear; damage from early traffic or harsh cleaners.
  • The remedy is repairing the affected area at no charge. On a metallic floor, a repair may be visible because the pattern is hand-worked.
  • To make a claim, send photos of the area within the year. We review them and schedule a visit.
Read the narration

Every epoxy and polyaspartic floor we install carries a one-year limited warranty, starting the day you sign off. If the coating peels or lifts, if warm tires pull it up, if it blisters, sheds flake or never cures right, we come back and repair it at no charge. Send us a few photos, and we'll take it from there.

Full warranty terms

One-year limited warranty: 1 year from the date you sign the completion report. Applies to polyaspartic flake, epoxy flake, metallic epoxy, solid-color epoxy, quartz broadcast and epoxy stone.

Covered

  • Peeling, lifting or delamination of the coating from the concrete or between coats
  • Hot-tire pickup: the coating lifting where warm tires park, once the full cure time has passed
  • Blistering or bubbling caused by how the coating was applied
  • Flake, quartz or stone coming loose from the surface
  • Areas that never cure fully and stay soft or tacky
  • Yellowing of a UV-stable topcoat from sunlight

Not covered

  • Moisture vapor or water pressure coming up through the slab
  • New cracks from the concrete settling, shrinking or moving, and existing cracks that show through
  • Impact, gouging or scratching from dropped or dragged tools, equipment, furniture, or jack stands and kickstands without pads
  • Permanent tire marks, and stains from chemicals, rust or spills that are not cleaned up promptly
  • Ambering of epoxy in sunlight where no UV-stable topcoat was installed
  • Normal wear, including gradual loss of gloss
  • Damage from traffic before the cure times we give you, or from cleaners and methods outside our care instructions
  • Fire, flood and other events outside our control

Conditions

  • Covers the original owner at the original property and is not transferable
  • The contract is paid in full
  • Report a problem within the one-year term by sending photos of the area; we review them and schedule a visit

We repair the affected area at no charge for materials or labor. Repairs are blended as closely as possible; on a metallic floor the hand-worked pattern cannot be reproduced exactly, so a repaired area may be visible.

Care

Keep it looking like day one

Toddler crawling across a smooth coated floor
  • Sweep or dust-mop regularly. Grit is what dulls a floor over time.
  • Mop with warm water and a pH-neutral cleaner, then let it dry or squeegee it.
  • Wipe up oil, brake fluid and road salt promptly.
  • Avoid bleach, vinegar, citrus or acid cleaners, and abrasive pads or steel wool.
  • Use pads under jack stands, kickstands and heavy equipment, and mats at the door in winter.
Read the narration

A coated floor is easy to live with. Sweep or dust-mop the grit, and mop with warm water and a pH-neutral cleaner. Wipe up oil and road salt when you see them. Skip bleach, vinegar, citrus and acid cleaners, and anything abrasive. Put a pad under jack stands and kickstands, and your floor will look like this for years.

How we install each floor

Every system starts with the same thing: concrete that has been ground open so the coating bonds into it. After that, each floor is built its own way.

Flake floors

Our 4-layer system and our most popular garage floor: prepared concrete, a basecoat, decorative flake and a protective topcoat. The basecoat is epoxy or polyaspartic, depending on the system you choose.

About this floor
Diamond grinder prepping a concrete floor
Installer broadcasting decorative flake
Finished flake floor in a home garage
  1. Grind and prep

    We diamond-grind the concrete so the coating bonds to the slab, then fill cracks and pitting and grind them flush.

  2. Clean

    All dust and debris come up before anything goes down.

  3. Basecoat

    A basecoat is spread across the prepared floor.

  4. Flake

    Decorative flake is broadcast into the wet basecoat until no bare resin shows through.

  5. Scrape and vacuum

    Once the basecoat sets, loose flake is scraped and vacuumed off, leaving an even texture.

  6. Topcoat

    A clear, UV-stable topcoat seals the flake in and sets the gloss and grip.

Metallic epoxy

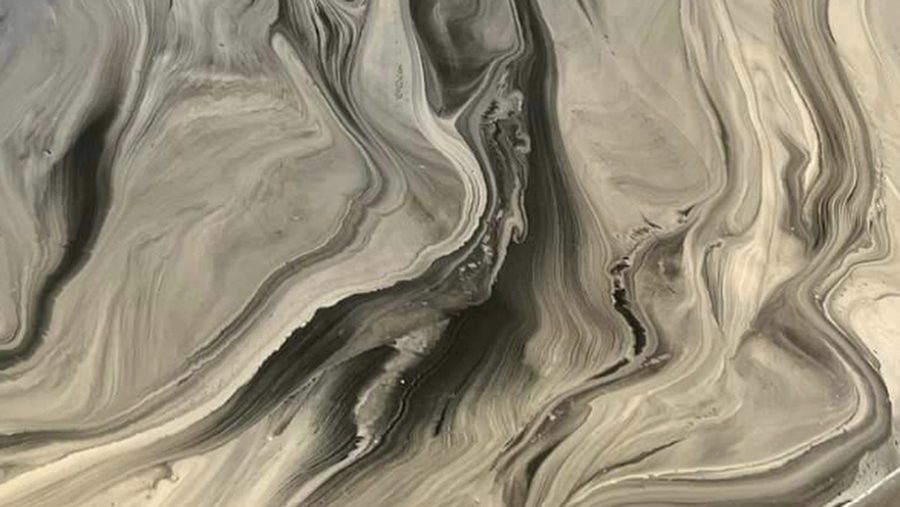
A clear epoxy carrying metallic pigment, poured and worked by hand over a dark base so the color shows at full depth. No two are alike.

About this floor
Close-up of a gray and champagne metallic epoxy floor
  1. Grind and repair

    The slab is ground open and every crack and pinhole is filled. Flaws show through a metallic floor, so this step is done with extra care.

  2. Prime

    A thin epoxy primer soaks into the concrete and seals its pores, so trapped air can't rise and leave bubbles in the finish.

  3. Dark basecoat

    A tinted basecoat goes down, usually black or very dark, so the metallic pigment shows its color most vividly.

  4. Metallic pour

    Clear epoxy mixed with metallic pigment is poured in ribbons and worked by hand with rollers, squeegees and brushes to create the movement in the floor.

  5. Topcoat

    A clear, UV-stable topcoat protects the pattern from sunlight, scratches and chemicals.

Solid-color epoxy

One clean, even color. A practical choice for basements, shops and utility rooms.

About this floor
  1. Grind and repair

    The slab is ground open, cracks and pitting are filled and ground flush, and the dust is vacuumed up.

  2. Prime

    A primer seals the concrete so the color coat goes down without pinholes.

  3. Color coat

    A pigmented epoxy coat is spread and back-rolled to an even color.

  4. Topcoat

    A protective topcoat goes on last. We can add an anti-slip texture to it for wet or sloped areas.

Quartz broadcast

Colored quartz sand locked between coats of epoxy. Textured, slip-resistant and built for hard use.

About this floor
  1. Grind and repair

    The slab is ground open and repaired.

  2. Prime

    A primer seals the concrete and anchors the system.

  3. Body coat and quartz

    An epoxy body coat goes down and colored quartz is broadcast into it until the surface is fully covered.

  4. Remove excess

    After it sets, loose quartz is swept and vacuumed off.

  5. Seal coats

    Clear coats lock the quartz in place. The number of coats sets how much texture you feel underfoot.

Resin-bound stone (Vuba Stone)

Natural stone bound in a clear, UV-stable resin and troweled on by hand. For driveways, walkways, patios and pool decks.

About this floor
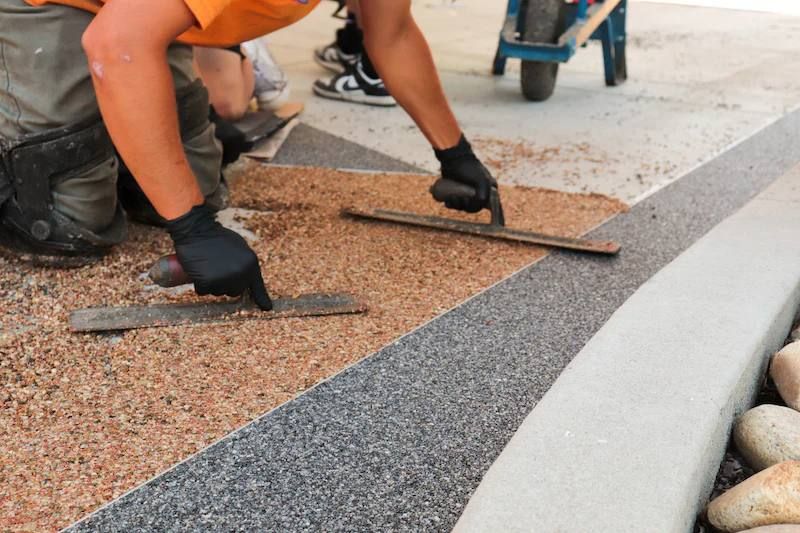
Worker troweling a resin-bound stone border
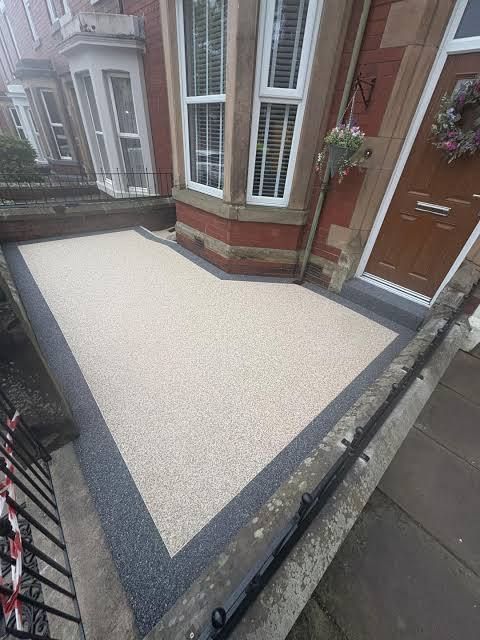
Stone walkway leading to a front door
  1. Prepare the base

    The base must be solid, clean and dry, usually sound concrete or asphalt. Weak or loose areas are fixed first.

  2. Set the edges

    Borders and edges are marked out so every section finishes clean.

  3. Mix

    Stone and a two-part UV-stable resin are mixed in batches until every stone is fully coated.

  4. Spread and trowel

    Each batch is spread and hand-troweled to an even depth, working section by section so the wet edge never dries out.

  5. Cure

    The resin cures into a solid surface with no loose stone. It won't yellow in the sun.

Polished concrete

No coating at all. The concrete itself is ground, hardened and polished to the sheen you choose.

About this floor
  1. Protect and fill

    The room is protected, and joints, cracks and pinholes are filled.

  2. Grind

    Metal-bond diamonds grind the slab in several passes, each finer than the last.

  3. Densify

    A densifier soaks in and reacts with the concrete to harden the surface.

  4. Hone and polish

    Resin-bond diamonds refine the surface step by step until it reaches the sheen you picked, from matte to high gloss.

  5. Guard and burnish

    A protective guard is applied and burnished in with a high-speed machine to resist stains.

Grind and seal

The most affordable way to clean up and protect bare concrete.

About this floor
  1. Grind

    The surface is ground to remove stains, sealer and the weak top layer.

  2. Repair and clean

    Cracks and pits are filled and the dust is vacuumed up.

  3. Seal

    A clear sealer is applied to protect the concrete from stains and wear.

Commercial epoxy

Heavier-build systems for warehouses, shops and businesses, planned around how the floor is used and when the space can close.

About this floor
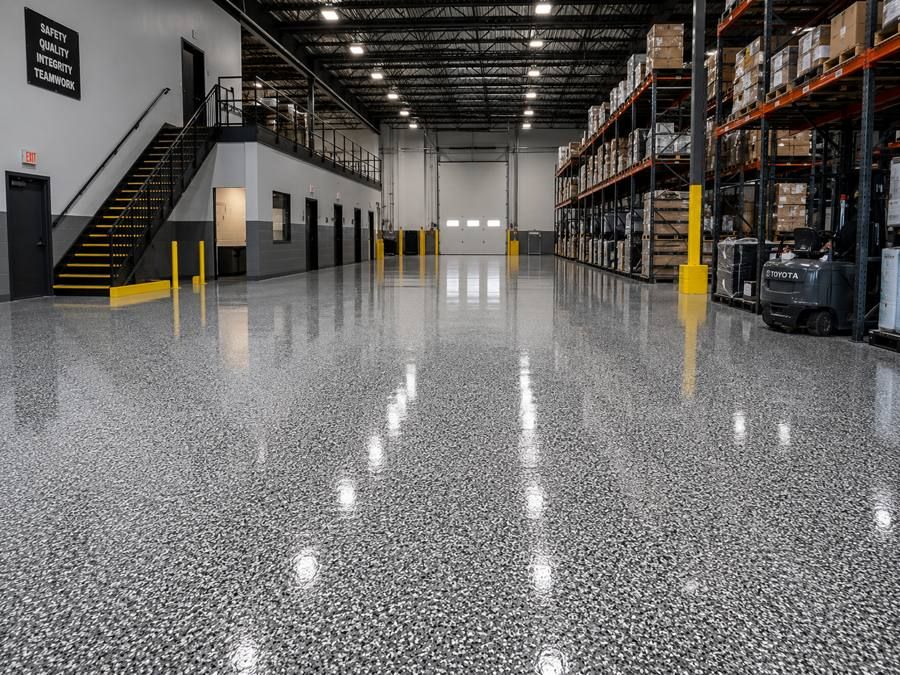
Coated floor in a commercial warehouse
  1. Plan the shutdown

    We schedule the work around your operation and agree on when each area is out of service.

  2. Grind and repair

    The slab is ground open, and cracks, joints and damaged areas are repaired.

  3. Prime

    A primer seals the concrete and anchors the system.

  4. Build coats

    Epoxy body coats are built to the thickness the traffic calls for, with broadcast texture where slip resistance matters.

  5. Topcoat and return to service

    A chemical-resistant topcoat goes on, and the floor returns to service after the cure times we give you.

Ready for a floor that lasts?

Tell us about your garage, basement, patio or shop. Call us, or price your floor online in a couple of minutes.

Price my floor online

Call 216-609-5810